Beginners Photography Tips to Improve Your Photography Idea
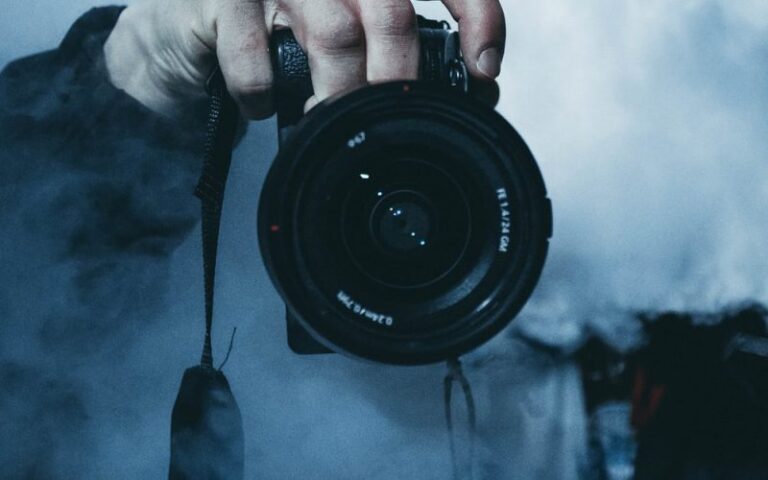
Regardless of whether you’ve quite recently bought your first DSLR and need to become familiar with the fundamentals or are searching for straightforward approaches to refresh your current photography abilities, the accompanying tips should help you fabricate a solid establishment. Nonetheless, remember that photography is craftsmanship you’ll never truly be ‘done learning. The first thing is to have the right equipment. For instance, to be a sports photogeapher, you must own end zone video equipment.
An ideal approach to continue to improve is to rehearse regularly, commit errors and be available to gain from others, regardless of whether they’re grounded photographic artists or novices to the specialty. Note; keep in mind our essential beginners’ photography tips to improve your photography idea.
Let’s Discuss Essential Photography Tips for Beginners.
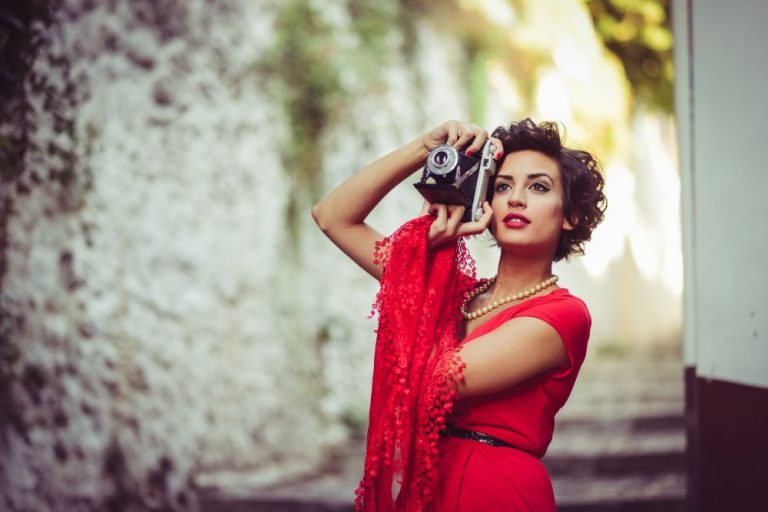
Figure out how to hold your camera appropriately
This may sound self-evident. However, numerous new picture takers don’t hold their cameras effectively, which causes camera shake and hazy pictures. Mounts are an ideal approach to forestall camera shake. In any case, since you will not utilize a stand except if you’re shooting in low light circumstances, it’s imperative to hold your camera appropriately to stay away from pointless development.
While you’ll, in the end, build up your method of holding the camera, you ought to consistently hold it with two hands. Grasp the correct side of the camera with your correct hand and spot your left hand underneath the focal point to help the camera’s weight.
The nearer you hold the camera to your body, the stiller you’ll have the option to hold it. On the off chance that you need additional dependability, you can learn in a tough spot or squat down on your knees, yet on the off chance that there’s nothing to incline toward, receiving a more extensive position can likewise help. Note; keep in mind our essential beginners photography tips to improve your photography idea.
Begin shooting in RAW.
Crude is a document design like jpeg, however dissimilar to jpeg. It catches all the picture information recorded by your camera’s sensor instead of compacting it. At the point when you shoot in RAW, you’ll get more excellent pictures. However, you’ll likewise have undeniably more control in post-handling. You’ll have the option to address issues, for example, finished or underexposure, and change things like shading temperature, white equilibrium, and difference.
One disadvantage to shooting in RAW is that the documents occupy more room. Furthermore, RAW photographs consistently need some post-preparing, so you’ll have to put resources into photograph altering programming. Note; keep in mind our essential beginners photography tips to improve your portrait photography idea.
At last, notwithstanding, shooting in RAW can change the nature of your pictures, so if you have the opportunity and space, it’s awesome. If you don’t know how to change from jpeg to RAW, check your camera’s manual for nitty-gritty directions.
Comprehend the openness triangle
Although it can appear to be somewhat overwhelming from the start, the openness triangle alludes to the three most significant components of openness; ISO, gap, and shade speed. At the point when you’re shooting in manual mode, you’ll have the option to adjust each of the three of these things to get sharp, sufficiently bright photographs.
ISO:
ISO controls the camera’s affectability to light. A low ISO setting implies the camera will be less touchy to light, while a higher ISO implies it will be more delicate to light. In any case, the picture quality will diminish as the ISO increases, and you may see ‘commotion’ on the picture with a higher ISO.
An ISO setting of 100 to 200 is normally ideal when shooting outside during the day. All things considered, when shooting in low light circumstances, for example, inside or around evening time, a higher ISO 400 to 800 or higher may be important. Note; keep in mind our essential beginners photography tips to improve your photography idea.
Gap:
The gap is the opening in your focal point and controls how much light breaks through to the camera’s sensor, just like the field’s profundity. The profundity of the field alludes to the space encompassing the point of convergence of the picture, which stays sharp. Note; keep in mind our essential beginners photography tips to improve your photography idea.
A more extensive gap (shown by a lower f-number) allows more light through. However, it has a tight profundity of field. Interestingly, a thin opening (demonstrated by a higher f-number) allows less to light through but has a more extensive field experience. A wide opening is extraordinary when you need to disconnect your subject, yet when you need the entire scene to be in the center, for example, with bunch shots, you’ll need to utilize a restricted gap.
Screen speed:
Shade speed controls what amount of time the screen stays open when you require an image. The more extended the shade stays open, the more light breaks through to the camera’s sensor. A quick screen speed is useful for freezing activity, while a more extended shade speed will obscure movement. Long screen paces can give fascinating impacts yet, for the most part, require an amount.
The wide opening is best for representations.
When shooting representations, regardless of whether of individuals or creatures, your subject ought to be the fundamental focal point of the image. The ideal approach to accomplish this is to utilize a more extensive opening. This will keep your subject sharp while obscuring out any interruptions behind the scenes.
Remember that a more modest f/number methods a more extensive gap, and the more extensive the gap, the more sensational this impact will be. A few focal points can go as low as f/1.2, yet even openings of f/5.6 can get the job done. To all the more likely see what the opening means for your pictures, change to Aperture Priority Mode (Av or A), and have a go at making a few efforts with various gaps.
A limited opening is best for scenes.
Scene photos require an alternate methodology since everything from the stones in the closer view to the mountains behind the scenes ought to be pointedly in the center. So any time you’re shooting a scene where you need everything to be completely in the center, you should choose a tight opening instead of a wide one.
A bigger f/number methods a smaller gap, so go towards f/22 or higher, contingent upon what your focal point permits. Once more, utilizing Aperture Priority Mode (Av or A) will permit you to explore different avenues regarding various openings without agonizing over changing the screen speed each time.
Clipping path service benefits at Clipping Path Specialist
Since most distributing programming manages everything far removed from the clipping path, this is advantageous for visual architects. This is because it works for them. They can toss photographs of your item against some other picture or foundation without managing a white foundation. Aside from these, it permits the content to turn against the first item.
I would say clipping path service is against the limits of your rectangular picture. If you intend to keep some print material, the section way is significantly more vital for you. This incorporates photographs of your items in a magazine and list. Additionally, solitary picture results come from numerous ways in the photograph business for various items with colors. Note; keep in mind our essential beginners photography tips to improve your photography idea. Thanks!!