
Microsoft Windows operating system has evolved a lot in the past few years however there are a few inbuilt utilities that we still miss on Windows. The Xbox Game Bar introduced with Windows 8 and above version still gave a few options to capture screenshots and create small videos. There are also other tools that help convert HTML to image.
We come across a lot of screens that we wish to record for future references. It can be a lecture, presentation, live classroom, webinar or be it gameplay. None of the free resources or inbuilt utilities offers unlimited recording with multiple edit options. Here comes the need for the best screen recorder software for Windows. Let’s explore the manual methods first and then discover the best screen capture for the Windows tool.
Screen Record Using Game Bar
The Xbox Game Bar is the one and only inbuilt utility to screen record your sessions on Windows. You can record all your live sessions or gameplay with voice using this utility. You first need to enable this service and then use it with the shortcuts.
Enable Xbox Game Bar
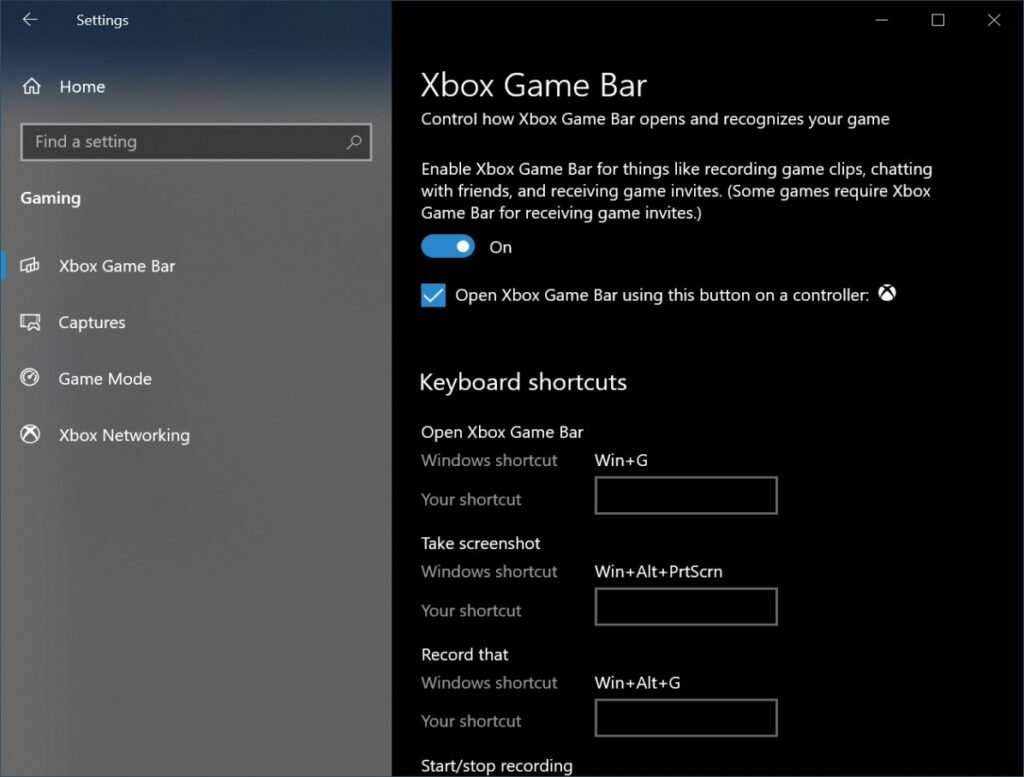
Step 1. Press (Win + I) to get into Windows settings.
Step 2. Scroll down the list and click on the Gaming option.
Step 3. You will be on the Xbox Gaming Bar in the left-hand side panel. Toggle ON to enable the Xbox gaming bar and configure the settings.
Launch Xbox Gaming Bar
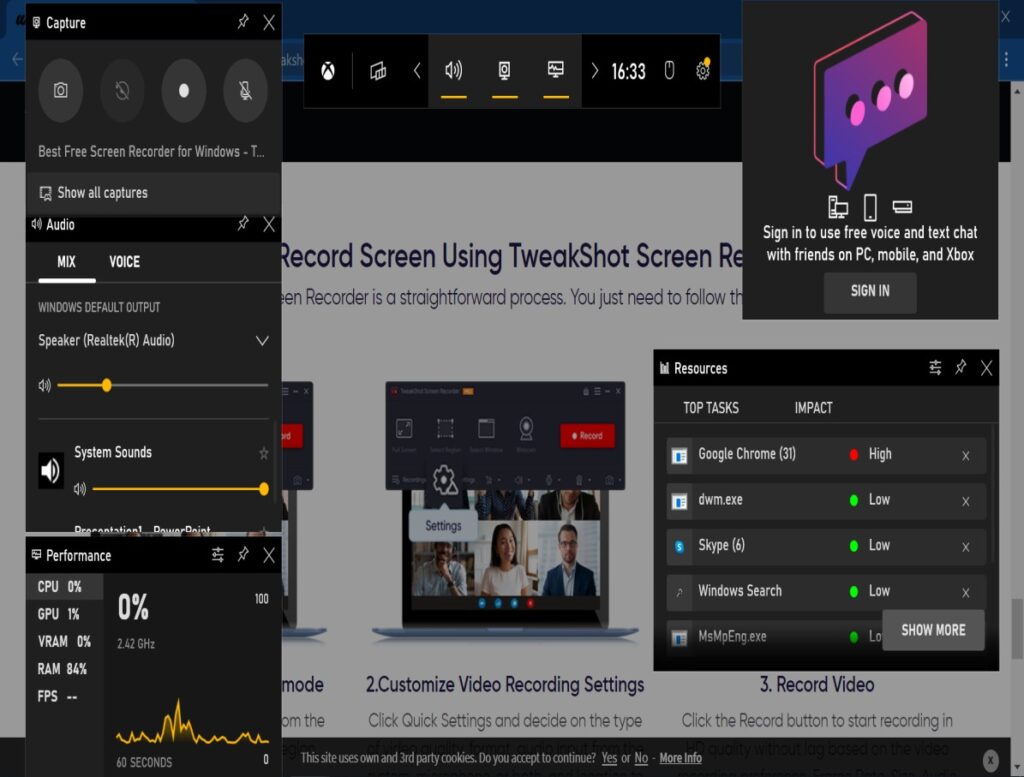
Step 1. Open the screen that you wish to record. Press (Win + G) to launch Xbox Gaming Bar.
Step 2. A new frame will open on your existing screen. Look for the capture section on the left-hand side top. It will have options to capture screenshots or screen record videos. You can record inbuilt audio or turn ON the Mic to add your voice.
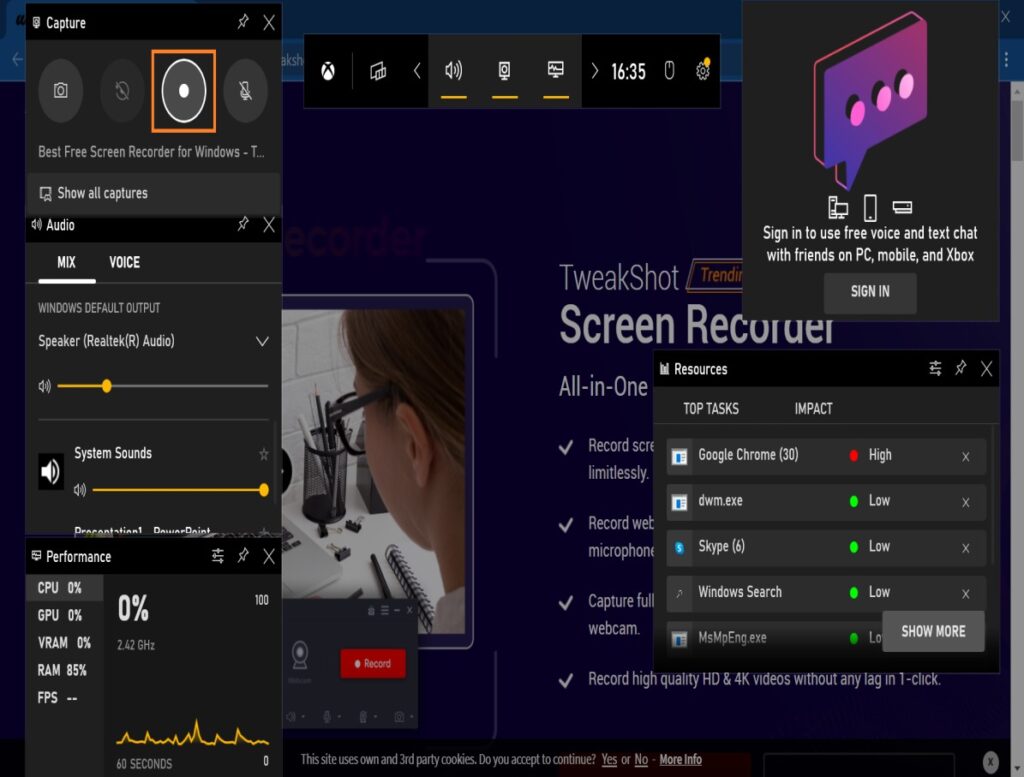
Step 3. Click on the Dot icon to start recording videos. A small bar will appear to control recording options. You can pause or stop recording whenever you want.
Step 4. Once you click on the stop recording option, it will store in the Videos library.
Screen Record Using MS PowerPoint
The latest versions of MS Office including PowerPoint for Microsoft 365 / PowerPoint 2013 / PowerPoint 2016 / PowerPoint 2019 etc. have this intuitive feature to record your screen. You don’t need a screen recorder software to record small videos.
Step 1. Launch MS PowerPoint on your computer.
Step 2. On the blank template, click on the Insert menu and check out the options.
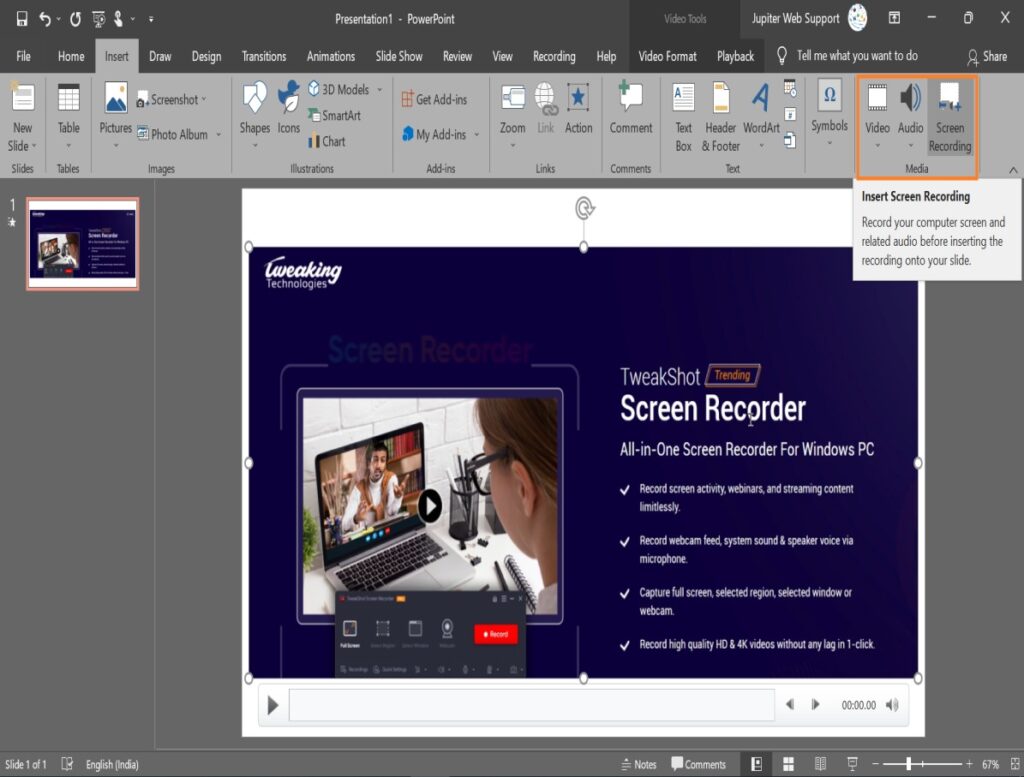
Step 3. Under the Media section, click on the Screen Recording option at the top right.
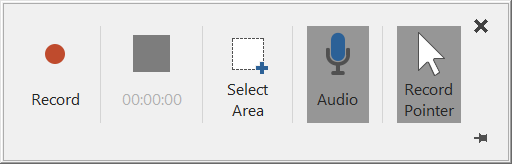
Step 4. A small recording controller bar will open to select the recordable section. Drag the area that you wish to record.
Step 5. You can also enable options to record Audio or record pointer. Click on the Record button to initiate the recording. Scroll screens or switch between screens until you finish recording. Click on the Stop button on the bar to stop recording. The recorded clip will be added to the blank slide.
Use TweakShot Screen Recorder
Use the best free screen recorder to screen record your desired screens. We have compared, tested, and reviewed dozens of screen recorders for Windows and listed the best screen recorder software for Windows 10 and earlier versions.
TweakShot by Tweaking Technologies
- Platform: Microsoft Windows
- Processor: Intel Core i3 or higher
- Operating System: Windows 10 and earlier
- Hard Disk Space: Min 2GB free space, SSD for best performance
- Display: 1280×768 size or better
- Memory: 4GB RAM or more
- Price: USD $39.95 / Year

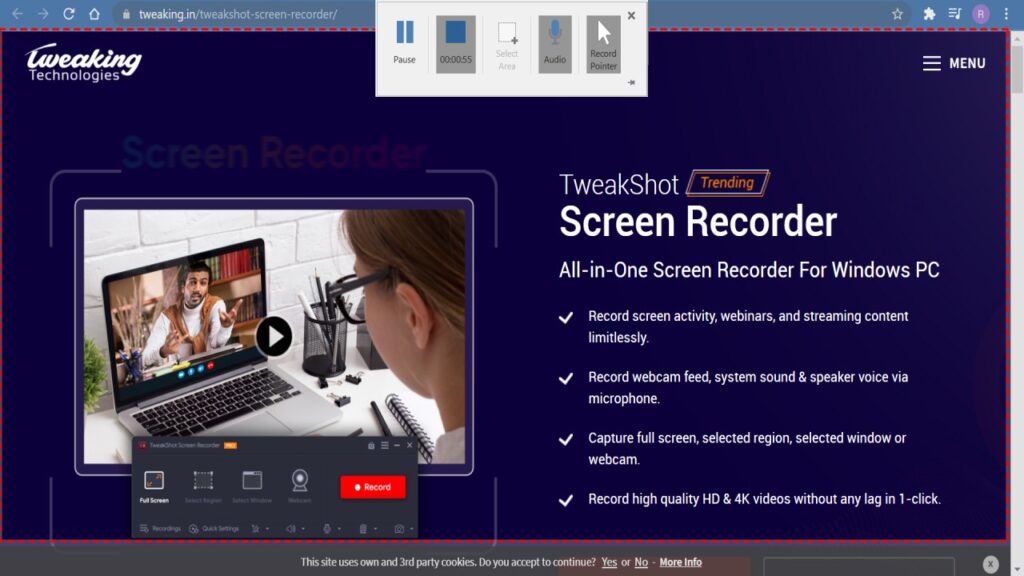
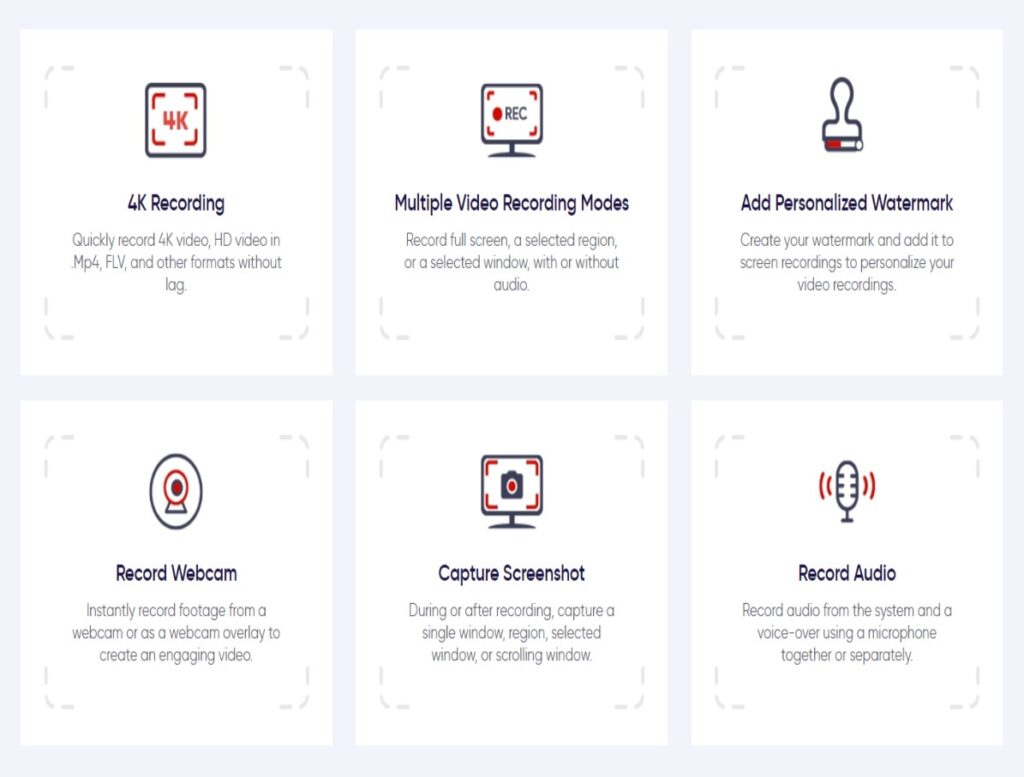
TweakShot is one of the best screen recorder software for Windows 10 and earlier versions we have tested in 2021. The free screen recorder offers HD recording with multiple options and advanced features. You can select a specific area, capture scrolling screens, take screenshots of the active window, full-screen capture, or use the inbuilt image editor with premium features.
The free screen recorder allows you to capture 3 videos of 3 minutes each with watermarks. To remove or personalize the watermarks, screen record unlimited videos, or unlock advanced editing features, you will need to upgrade it to a paid version. The premium version allows you to edit videos, upload videos on the cloud or share them with your friends and family.
You can limitlessly record your screen activity, webinars, streaming content, or gameplay clips. You can record system sound as well as speaker voice via microphone and webcam feeds. This is one of the easiest methods to record high-quality HD / 4K videos just with a single click. The software is compatible with Windows 11 and earlier versions. The best part is, you can record video calls/conferences without letting your participants know about the same.
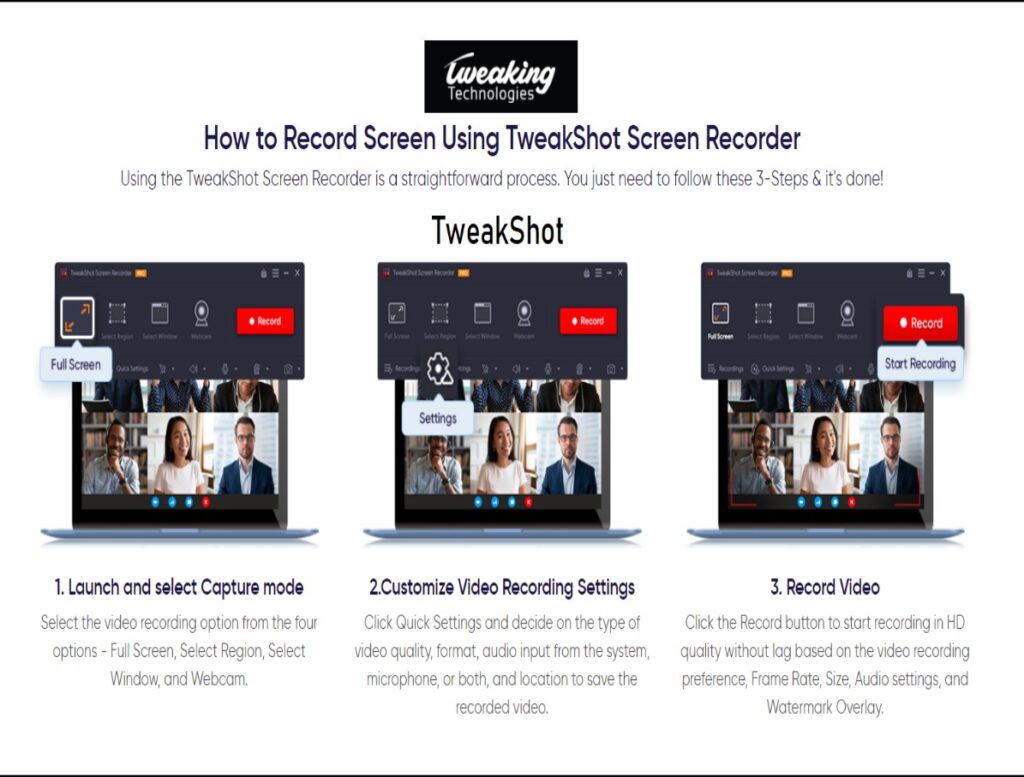
The process is quite simple, you can download and install the software from its official website. Configure the settings as per your needs and go through the tutorial. Once you are friendly with the application, open the screen that needs to be recorded and click on the record button. This screen capture for Windows will capture and save the best quality videos.
Summing Up
Recording screen manually or screen capture for Windows without any utilities may be a tedious and tricky task. Using the best screen recorder for Windows can help you record live streams, webinars, gameplays or any conference call silently. You can record unlimited videos without any restrictions and capture whatever is there on your screen. Record it With TweakShot!