“Transitions in life can offer opportunities for discovery.” – Robbie Shell.
As businesses are moving forward they are on a constant lookout for platforms that can help them be more organized, impart great service to their customers and enhance their daily productivity. Their search came to an end with Office 365.
Even though both Outlook and Office 365 are the products of Microsoft, they are as different as chalk and cheese.
Outlook is the traditional email client application available with the Microsoft suite. Whereas, Office 365 is the subscription-based service of Microsoft that comes with a plethora of features to help businesses prosper.
This is why organizations are swarming into Office 365 to make use of the different benefits they can get.
No matter how fond we are of having a clean and tidy mailbox if users want to switch to Office 365 from Outlook, they need to transfer all their Outlook files to Office 365. How can they do that?
To answer this query, we have written this article. The process of transferring the Outlook files to Office 365 in both an automated way and a manual way will be discussed in this blog in detail. Keep on reading!
How To Import PST File To Office 365?
To import Outlook to Outlook 365, the users need to use a proficient tool. It can either be an automated tool or a manual one. Which is the best one to be used? Go through them one by one and decide for yourself.

Method 1: Professional Method To Import PST Files To Office 365
If you want to fill the voids left by the manual solutions, then you should use the Import PST to Office 365 Tool. Using this utility, you can convert all kinds of PST files data like emails, contacts, calendars and tasks to Office 365.
Let us now look at how a user may import their Outlook files into Office 365.
Step 1: Download and Launch the tool on your computer/Laptop.
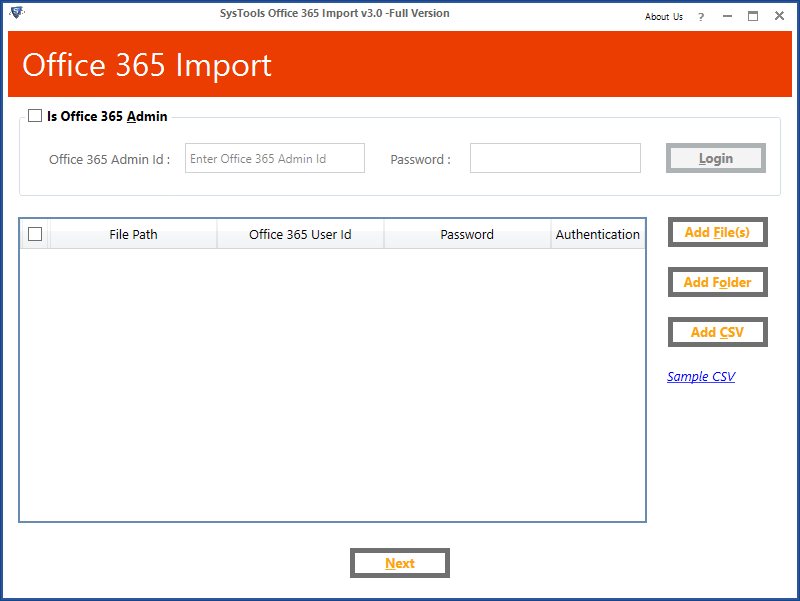
Step 2: Sign in and transfer a single or more PST file to Office 365.
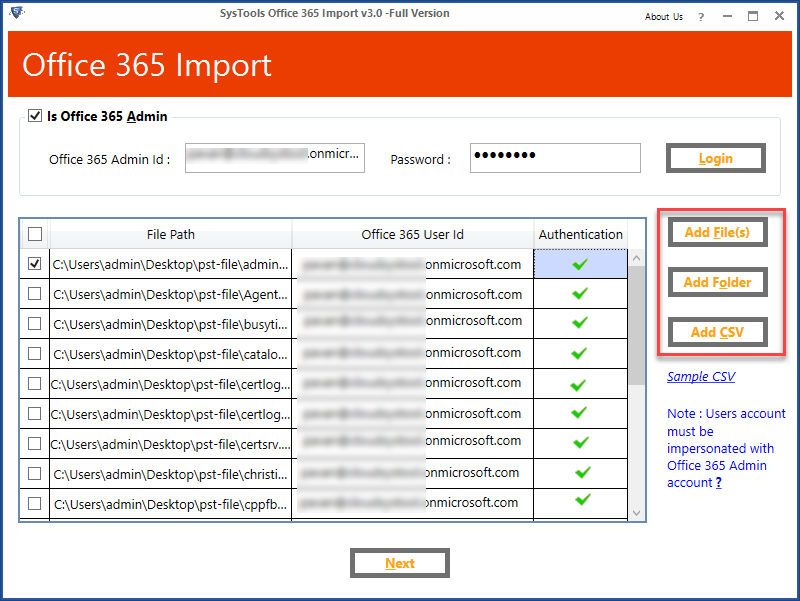
Step 3: Select ‘category’ and Apply ‘data filter’.
; 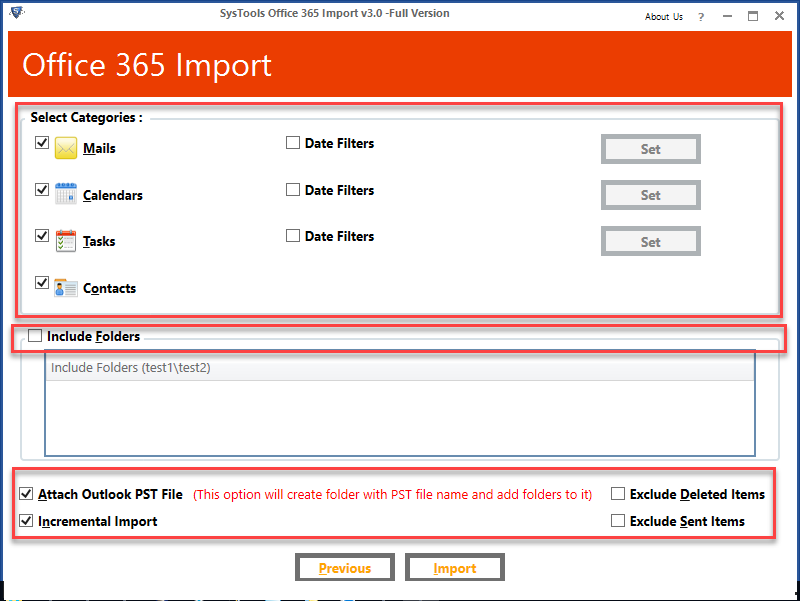
Step 4 Finally, import PST files into your Office 365 account.

Method 2: Manual Ways to Import Outlook To Outlook 365.
The manual ways by which the PST files can be imported into Outlook 365 are:
- Upload to Office 365 using Azure AzCopy.
- Drive shipping to Microsoft.
Network Upload Using Azure AzCopy
Using AzCopy, you may instantly upload the PST file to Office 365.
- Copy the SAS (Shared Access Signature) URL after downloading and installing Azure AzCopy (the SAS URL will provide the necessary permission to migrate the PST file to Azure).
- Upload the PST files to Office 365.
- Create the PST mapping (CSV) file.
- Create an import job in Office 365 to import PST files.
- Filter the data and start the PST import work.
- Because Azure AzCopy is a technique supplied by Microsoft’s cloud platform that is independent of Office 365, you must take some measures before beginning the upload process. To perform the procedure, the user must have the Mailbox Import Export role issued by the Office 365 Administrator. By default, such a Role is inactive, and no individual or group has it. The Admin can assign the job to a person or the Organization Management Role group.
- Only the AzCopy tool is compatible with the network upload approach. The Azure Storage Explorer cannot be used to upload PST files directly.
- For the software to be able to see the PST files, they must be available in the network shared folder.
- The upload technique is incompatible with big PST files. The PST file should not be larger than 20 GB.
- Importing the PST file into an inactive Office 365 mailbox is simple.
- After importing the PST files, you should modify Office 365’s retention hold policies. Because it is conceivable that the incoming emails may be rather old, the system will delete them due to existing retention policies.
- Messages of up to 35 MB in size can be downloaded to Office 365 using this program.
Method 2: Import PST File to Office 365 Using Drive Shipping
Drive Shipping is another method for importing PST data to Microsoft 365 that employs a Secure storage key and the PST Import Tool. In this technique, you will need to copy your PST data to a hard drive and then mail it to one of Microsoft 365’s physical facilities.
To complete the process through the Drive Shipping method, follow these steps:
- Downloading the PST Import tool and the safe storage key
- Transferring PST data to a hard disc
- Make a PST Import Mapping File
- In Microsoft 365, you may create a PST Import task.
- delivering a hard disc to Microsoft
- The content is being processed, and the import process is starting.
Manual Approach Limitations:
- The manual approach described above is tedious and time-consuming.
- To accomplish this procedure, the user must have exceptional technical skills.
Wrapping Up
The benefits of Office 365 are alluring more and more users from Outlook towards it. Therefore, if users are worried about how to import their Outlook files to Office 365 then they can refer to this article. In this post, we have described in detail the manual as well as automated methods to import Outlook to Outlook 365 seamlessly.